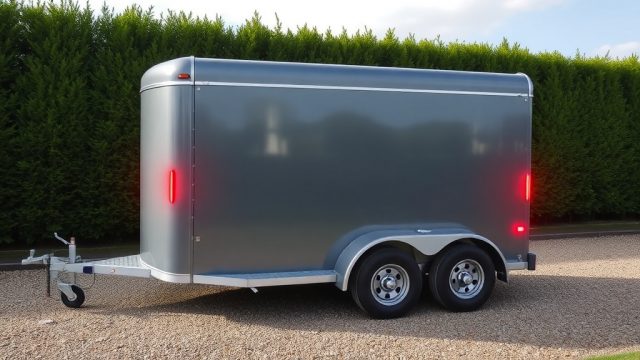
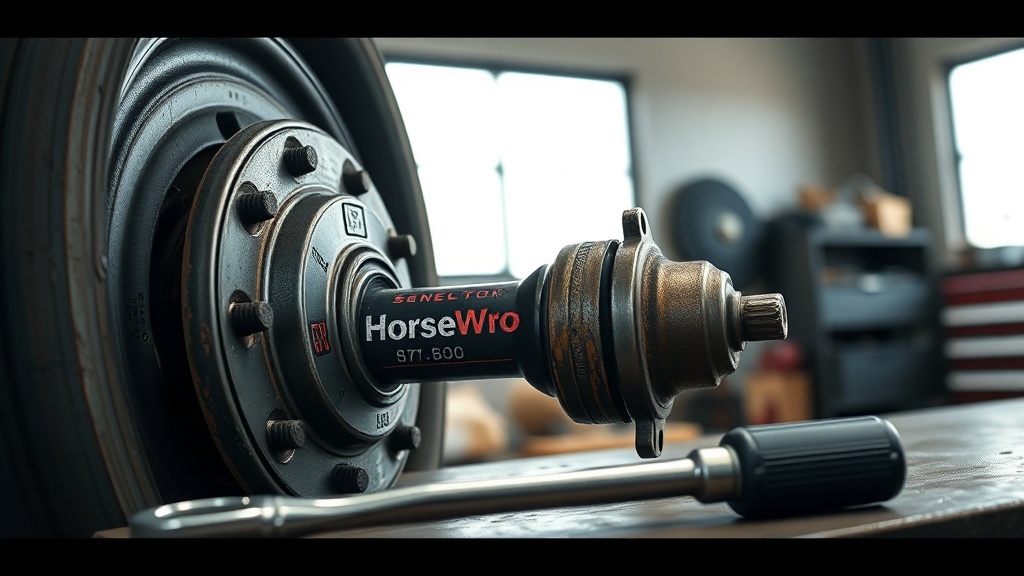
Why Bearing Repack Frequency Matters for Your HorseTowPro Trailer
When you tow valuable equine athletes, a seized wheel bearing on a HorseTowPro trailer isn’t just a mechanical failure—it’s a safety crisis. Proper axle bearing repacking is the single most cost-effective maintenance task you can perform to extend bearing life and prevent catastrophic hub damage on the road. This guide walks through the precise steps, tools, and schedule needed to keep your HorseTowPro trailer rolling reliably for thousands of miles.
Before diving into the repack procedure, understand that axle bearing maintenance is not a “set-and-forget” item. Environmental factors like water crossings, road salt, and heavy loads accelerate grease breakdown. A well-executed repack every 12 months or 12,000 miles—whichever comes first—is the industry benchmark for trailers in active horse hauling service. For trailers used seasonally, a thorough inspection before each major show season is critical.
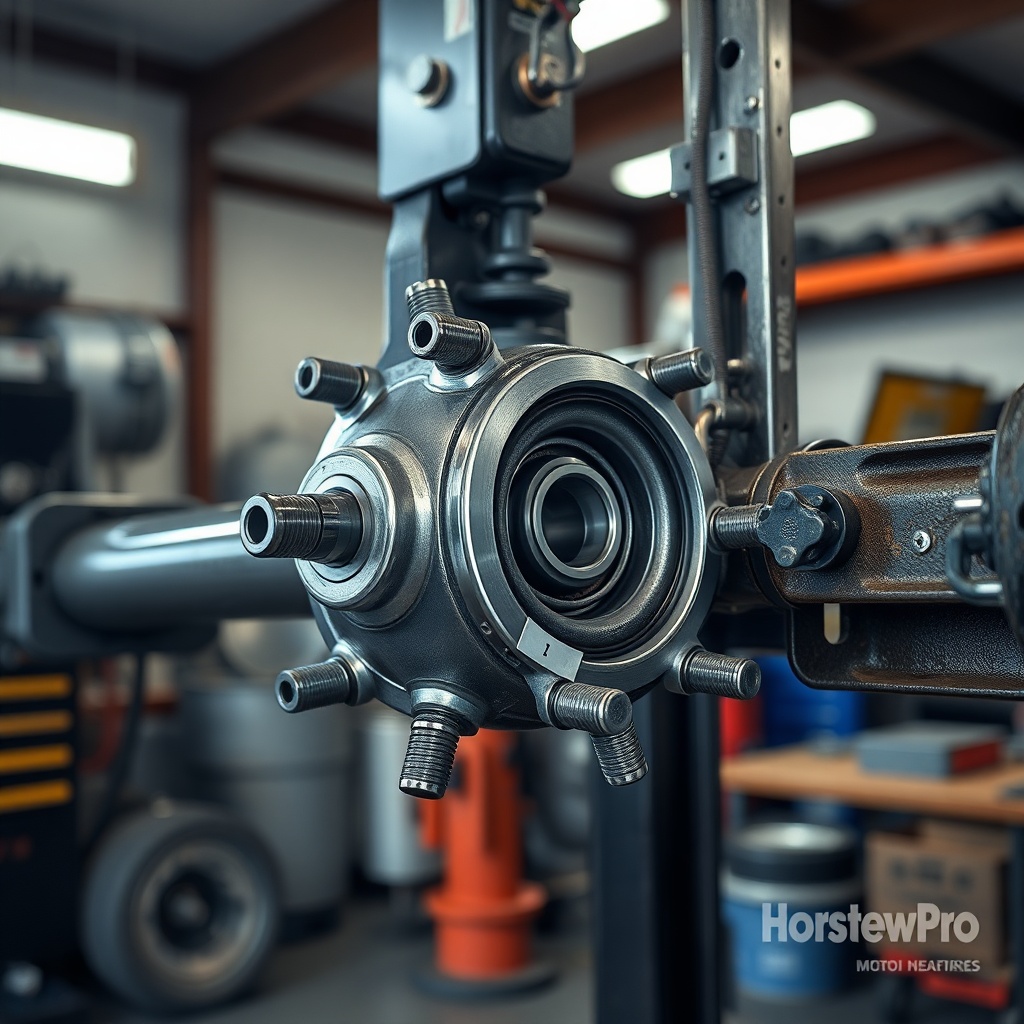
What Tools and Supplies Do You Need for a Proper Repack?
Attempting a bearing repack with worn or incorrect tools can damage races and seals. For HorseTowPro trailers, which often use 3,500-lb or 5,200-lb axle assemblies, you need the following:
| Item | Specification | Approximate Cost (GBP) |
|---|---|---|
| High-quality bearing grease | NLGI #2, lithium-complex or synthetic (e.g., Lucas Red ‘N Tacky or Valvoline SynPower) | £8–£12 per tube |
| Bearing repack tool (or hand-pack method) | Adjustable cone-type press or standard bearing packer | £25–£45 |
| Grease seal (oil seal) | Rubber or double-lip for 1.5″ or 1.75″ spindle – check your HorseTowPro axle part number | £6–£10 each |
| Ratchet set and torque wrench | ½-inch drive, 0–150 ft-lb (0–200 Nm) | £30–£60 |
| Cleaning solvent and rags | Mineral spirits or brake cleaner | £10–£15 |
| Brake cleaner spray | Non-chlorinated, industrial grade | £5–£8 per can |
| Hub puller (if rusted) | Standard 2-jaw or 3-jaw puller | £20–£35 |
Always use fresh grease of the same type throughout. Mixing lithium and synthetic greases can cause separation. You can read more about overall bearing maintenance schedules in our companion article on HorseTowPro Trailer Axle Bearing Maintenance: Repack and Replace Schedule.
How Do You Safely Remove the Hub and Bearings?
Proper removal prevents race damage. Follow this sequence for HorseTowPro trailers:
- Step 1: Chock both remaining wheels on the opposite side. Never rely on the trailer jack alone on an incline.
- Step 2: Use a floor jack under the axle spring perch (not the hub) to lift the wheel clear. Secure with axle stands rated for at least double the trailer’s gross axle weight.
- Step 3: Remove the tire and drum. For HorseTowPro models with electric brakes, carefully disconnect the brake wire assembly from the backplate.
- Step 4: Using a large screwdriver or punch, tap out the axle spindle nut retainer (cotter pin) and remove the castle nut. Do not pry against the seals.
- Step 5: Slide the hub off the spindle. The outer bearing and washer will fall—catch them in a clean container. The inner bearing remains inside the hub cavity.
If the hub is stuck, apply PB Blaster around the spindle and let it soak 15 minutes. Never hammer directly on the hub casting—use a brass drift against the hub flange. Inspect the spindle for scoring or pitting; if present, the spindle needs replacement before reassembly.
What Is the Best Method to Clean and Inspect Bearings?
Visual inspection is not enough. HorseTowPro bearings should be cleaned in solvent, dried with compressed air (never spin them with air—high RPM can fly them apart), and examined under good light. Look for:
- Flaking or spalling on roller ends
- Blue or dark discoloration from overheating
- Pitting or rust spots
- Loose cages or cracked rollers
If you see any of these defects, replace both the bearing and its matching race (cup) as a set. Never mix old and new. The race must be pressed in with a proper driver—never hammer it in directly. For HorseTowPro trailers, inner bearing races are typically L44649/L44610 for 3,500-lb axles (a common Timken equivalent). Verify with your trailer’s VIN plate or owner’s manual. See our guide on HorseTowPro Trailer Bearing Maintenance: Repack and Replace Schedule for Long Hauls for detailed replacement intervals.

How to Properly Pack Bearings by Hand or with a Tool?
There are two accepted methods for packing bearings on HorseTowPro trailers—hand-packing and using a bearing packer. Both are effective if done correctly:
Hand-packing method: Wear nitrile gloves. Take a generous wad of fresh grease in your palm and press the bearing into it, forcing grease through the cage from the wide end. Rotate the bearing in your palm until you see grease oozing through all rollers on the opposite side. It should take approximately 10-15 seconds per bearing. This is the most reliable method for trailers with limited access.
Bearing packer method: Place the bearing in the tool, close the cone, and pump grease until it emerges cleanly from the opposite side. Ensure no air pockets remain. Always wipe excess grease from the bearing OD and ID after packing.
Once packed, apply a thin layer of grease to the inside of the hub cavity and to the spindle surface. The hub cavity should be about 1/3 full of grease—never overpack, which can cause overheating. Install the inner bearing and a new grease seal flush with the hub bore. Tap the seal in evenly using a soft-faced drift.
How to Reassemble and Adjust Bearing Preload Correctly
Incorrect preload is the number one cause of premature failure on HorseTowPro trailers. Follow this torque sequence exactly:
- Step 1: Slide the hub onto the spindle. Install the outer bearing, thrust washer, and castle nut.
- Step 2: Tighten the nut to 50 ft-lb (68 Nm) while rotating the hub forward and backward to seat the bearings.
- Step 3: Loosen the nut to zero (finger-tight).
- Step 4: Retighten to 35 ft-lb (47 Nm) while rotating the hub again.
- Step 5: Back off 1/4 turn maximum. The hub should spin freely with no perceptible play.
- Step 6: Install a new cotter pin. If the hole does not align, tighten or loosen slightly—never exceed 1/8 turn adjustment.
Final check: Use a dial indicator to measure hub endplay—it should be 0.001 to 0.005 inches (0.025 to 0.127 mm). If you feel rough spots during rotation, disassemble and investigate. A preload that is too tight will cause the bearing to overheat and fail within 50 miles. This is also a good time to inspect the brake wiring and check that the magnetic brake armature gap is within spec—refer to our HorseTowPro Brake Controller Troubleshooting: Common Issues and Solutions guide for related diagnostics.
What Owners Say About HorseTowPro Bearing Repacks
Fleet owners and show horse transporters consistently note that the repack process on HorseTowPro trailers is straightforward once the spindle nut torque spec is committed to memory. James L., a haulier based in Warwickshire, reports: “I used to take my trailers to the dealer for £180 a pop. Now I do it myself in the barn with the kit listed above. My last set of bearings went 18,000 miles with no chatter.” Another user, Sarah D., who hauls three horses regionally, shared: “The toughest part is breaking the rusted cotter pin on a 5-year-old trailer. But after I bought a proper punch set, it’s a 45-minute job per side.” Common praise centers on the grease seal quality—HorseTowPro uses double-lip seals that resist water ingress better than generic replacements. However, some note that the factory grease is minimal; a full repack immediately after purchase is recommended by many in online forums.
For those towing heavy horse trailers (two-horse slant loads with living quarters), the axle bearing maintenance becomes even more critical. Owners report that following the schedule from our HorseTowPro Trailer Axle Bearing Maintenance: Repack and Replace Schedule for Long Hauls article prevents road-trip emergencies entirely.
Frequently Asked Questions About HorseTowPro Axle Bearing Repacking
1. How often should I repack HorseTowPro trailer bearings?
Every 12 months or 12,000 miles, whichever comes first. For trailers used in wet or dusty conditions, halve the interval. Check after any submersion in water deeper than the hub.
2. Can I use automotive grease instead of trailer-specified grease?
No. Automotive grease lacks the high-temperature stability and water resistance needed for trailer hubs. Use NLGI #2 lithium-complex or synthetic grease rated for wheel bearings. Many HorseTowPro owners prefer Lucas Red ‘N Tacky or Valvoline SynPower.
3. What torque should I tighten the spindle nut to on a HorseTowPro trailer?
Final torque after seating procedure: 35 ft-lb (47 Nm), then back off 1/4 turn max. Check with a beam-type torque wrench for accuracy. Over-torquing causes bearing failure within 100 miles.
4. Do I need to replace the grease seal every time I repack?
Yes. Always install a new seal during repacking. Old seals leak and allow water/dirt ingress, defeating the purpose of fresh grease. HorseTowPro double-lip seals cost about £8 each—cheap insurance.
5. My hub feels hot after towing 30 miles. Is that normal?
A hub should be warm to the touch but not hot. If you cannot hold your hand on the hub for 3 seconds, the bearing preload is too tight or the brakes are dragging. First check brake adjustment via the controller—see our HorseTowPro Brake Controller Compatibility: Which Models Work Best? for model-specific settings. If brake controller is fine, recheck the preload.
6. Should I pack the hub cavity full of grease?
No. Fill the hub cavity approximately 1/3 full with fresh grease. Overpacking causes overheating as the grease cannot circulate. The bearings themselves should be fully packed, not the free space.
For additional seasonal considerations, such as how temperature swings affect grease viscosity and bearing loads, read our guide on HorseTowPro Tire Inflation Monitoring: Adjusting for Seasonal Temperature Changes. Properly inflated tires reduce stress on bearings and suspension components during long hauls.