HorseTowPro Axle Bearing Repack Guide for Long Hauls: Step-by-Step for Longevity
When you are pulling a loaded horse trailer on a thousand-mile journey to a show or trail ride, the last thing you need is a red-hot axle bearing seizing up on the interstate. Proper bearing maintenance is not just about a smooth ride; it is about preventing catastrophic wheel loss and protecting your valuable equine cargo. This guide from HorseTowPro walks you through the step-by-step process of repacking axle bearings specifically for the demands of long hauls, ensuring your trailer remains roadworthy mile after mile.
Why Is a Dedicated Repack Procedure Critical for Long Hauls?
Long hauls expose trailer bearings to sustained high-speed rotation, increased heat buildup, and varying weather conditions—from rain-soaked highways to dusty country roads. Standard seasonal repacks may suffice for occasional short trips, but horse owners who log 10,000+ miles annually need a more rigorous approach. Heat causes grease to break down faster, and water intrusion from pressure washing or deep puddles can lead to corrosion within hours. A dedicated “long haul repack” process includes deeper inspection, higher-temperature grease, and precise torque specifications to prevent premature failure.
Think of bearing grease as the lifeblood of your wheel end. Over time, it oxidizes and loses its lubricating properties. If you have ever touched the hub after a three-hour drive and felt it too hot to hold for more than a few seconds, you have experienced the warning signs of inadequate lubrication. Following a structured repack schedule from HorseTowPro Trailer Axle Bearing Repack Schedule: How Often and Why will help you stay ahead of this wear.
What Tools and Materials Do You Need for a Proper Repack?
Before lifting the trailer, assemble everything required. Using the wrong grease or a chipped bearing race can undo all your work in minutes. Below is a specification and severity comparison table to help you choose the correct components.
| Component | Specification / Grade | Severity if Wrong | Recommended Brand (UK/EU) | Approx. Cost (GBP) |
|---|---|---|---|---|
| Wheel bearing grease | NLGI #2, high-temperature (rated to 300°C / 572°F) | Moderate – grease breakdown causes overheating | Kendall Super Blu, Mobilgrease XHP 222 | £12–£20 per tub |
| Bearing race/seal | Timken set 10/12 or equivalent; double-lip seal | High – seal failure allows water ingress | Timken, SKF | £15–£30 per wheel |
| Torque wrench | 0–200 Nm (0–150 lb-ft) range, 1% accuracy preferred | Critical – overtightening destroys bearings | Norbar, Teng Tools | £80–£200 |
| Bearing packer tool | Manual or pneumatic packer | Low-Moderate – hand packing works but slower | OTC, Laser Tools | £15–£35 |
| Brake cleaner spray | Non-chlorinated, evaporates quickly | Moderate – residue left on bearings attracts debris | K2, Halfords | £5–£8 per can |
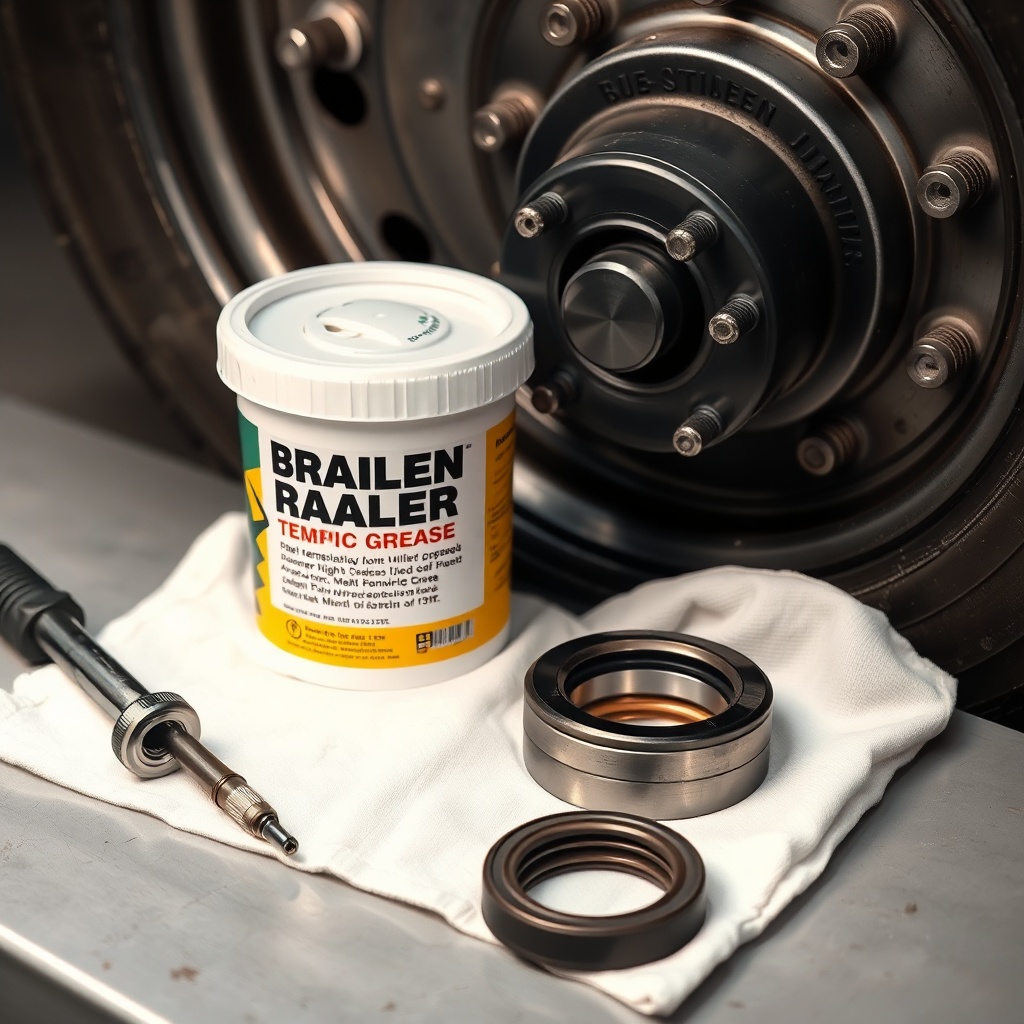
Step-by-Step: How Do You Remove and Clean Bearings for Long Haul Service?
Begin by securely jacking up the trailer and removing the wheel. Use a dead-blow hammer to gently tap the dust cap loose, then extract the cotter pin from the castle nut. For a two-axle setup, always work on one wheel at a time. Slide the hub off the spindle, carefully setting the outer bearing from the hub. Do not let the bearings fall on the ground; grit is the enemy of smooth rotation.
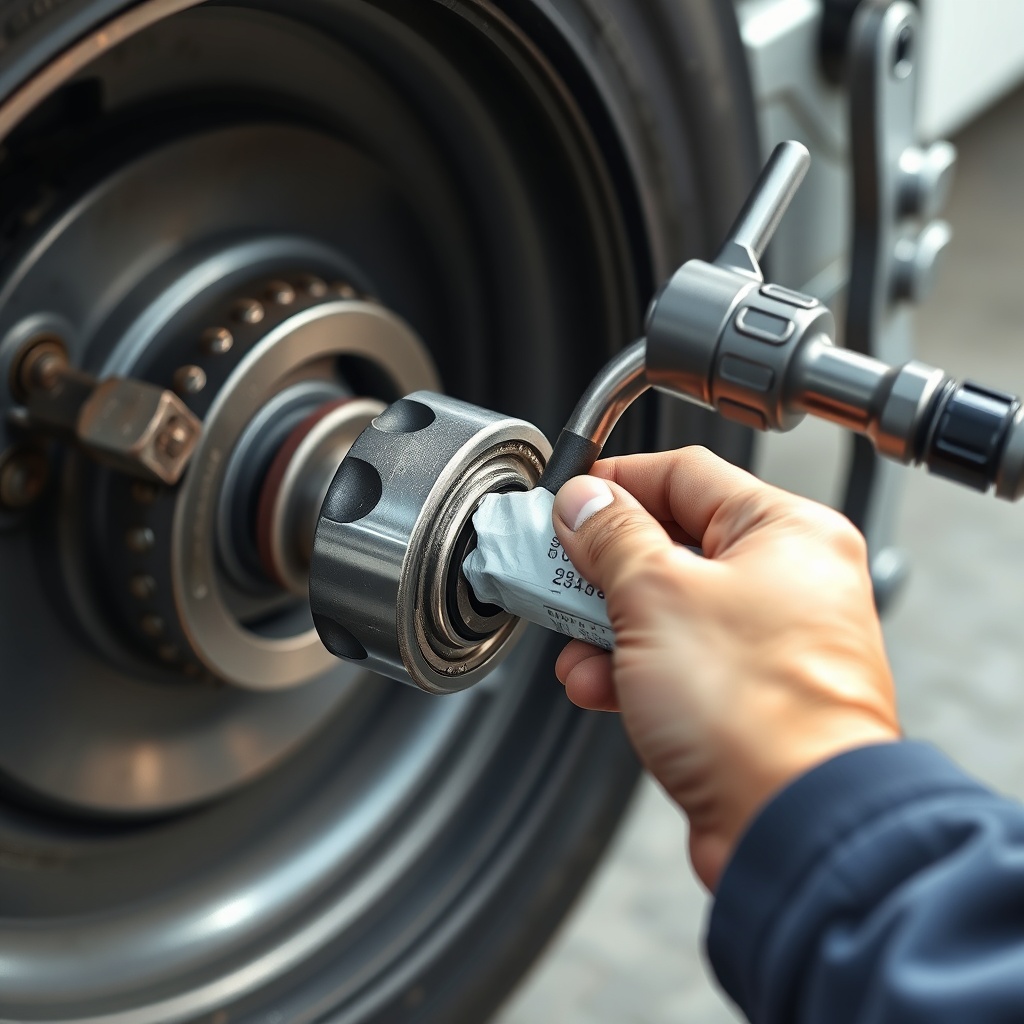
Clean all components—inner bearing, outer bearing, races, and hub cavity—with brake cleaner. Wipe away old grease with lint-free rags. Inspect the races for pitting, spalling, or discoloration. If you see any damage, replace the entire bearing set. When reassembling, pack the bearing by hand or with a packer, forcing grease from the large end of the cage through the rollers until it emerges on the small end. Fill the hub cavity about one-third full with fresh grease—never overfill, as excess grease can cause heat buildup from churning.
How Do You Properly Adjust Bearing End Play for Highway Speeds?
This is the most crucial step for long-haul reliability. After sliding the hub back onto the spindle and installing the outer bearing, tighten the castle nut to 35–40 Nm (25–30 lb-ft) while rotating the hub. This seats the bearings properly. Then back off the nut completely. Retighten the nut to 5 Nm (4 lb-ft) by hand while spinning the hub—this should feel snug with no play. Install the cotter pin. The final goal is zero perceptible play but with free rotation. At highway speeds, excessive end play causes hammering on the races, accelerating wear. Too tight, and the bearing will overheat and fail within 200 miles.
After final adjustment, road-test the trailer at 50 mph for 15 minutes, then feel the hub. It should be warm but not hot to the touch. If it’s too hot to hold, you need to back off the adjustment slightly. Many experienced horse owners check hub temperature via infrared thermometer every fuel stop—a practice detailed in HorseTowPro Tire Inspection Safety Checklist: Avoiding Blowouts on the Road which covers similar thermal checks for tyres.
What Owners Say
Long-haul horse transporters who use HorseTowPro’s repack method report significant reductions in bearing failures. One owner from Cheshire shared, “After following this guide for my Ifor Williams trailer, I drove from Manchester to the Scottish Highlands three times last season without a single hub overheat. The step about backing off the nut and retightening by feel made all the difference.” Another user noted, “The grease spec table saved me from buying cheap grease that would have liquefied in summer heat. Now I do this every April before show season.”
Owners emphasise the importance of using a torque wrench rather than guessing. One comment read: “I used to tighten as tight as possible, thinking more is better. After reading the ‘end play’ section, I adjusted properly and the mileage on my bearing life doubled.” Many also recommend pairing bearing maintenance with lighting upgrades, as detailed in HorseTowPro Trailer Light Conversion Guide: LED vs Incandescent Upgrades, to ensure both safety and visibility on long journeys.
Frequently Asked Questions
How often should I repack bearings for long hauls?
For trailers that log over 5,000 miles annually, repack every 12 months or 10,000 miles, whichever comes first. For heavy long-haul use (over 15,000 miles per year), consider a mid-season repack. Always inspect after any suspected water exposure.
Can I use standard automotive grease for horse trailer bearings?
No. Standard chassis grease (NLGI #1 or #0) breaks down at temperatures above 150°C. Horse trailer bearings reach higher temperatures due to heavy loads and sustained speed. Use only NLGI #2 high-temperature wheel bearing grease rated to at least 250°C.
What are signs that bearings need immediate repacking?
Growling or rumbling noise from the wheel area, excessive hub heat after driving (too hot to touch), visible grease leaking past the dust cap, or vibration through the trailer frame. Check these symptoms immediately using HorseTowPro Tire Inflation Monitoring: Adjusting for Seasonal Temperature Changes for related tyre and hub health monitoring.
Should I replace seals every time I repack bearings?
Yes. Oil seals cost £5–£15 each and are critical for keeping grease in and water out. Never reuse a seal, especially after a long haul where the seal lip may have formed a groove on the spindle. Install new seals gently with a seal driver to avoid damage.
What is the correct torque for the castle nut after repacking?
Use a two-step process: initially torque to 35–40 Nm, back off, then final torque to 5 Nm by hand while spinning the hub. Insert the cotter pin after final adjustment. Do not exceed 5 Nm or the bearing will overheat.
How do I know if my hub has the wrong bearings for long hauls?
If your trailer is older than 10 years or uses non-Timken sets, check the bearing numbers against your axle manufacturer’s specs. Many older trailers used low-grade bearings. Upgrading to premium tapered roller bearings (e.g., Timken Set 10) offers better heat dissipation and load capacity. For guidelines on complementing this with improved braking, see HorseTowPro Brake Controller Compatibility: Upgrading from Analog to Digital.