How Does the HorseTowPro Brake Controller Enhance Safety for Towing Horses?
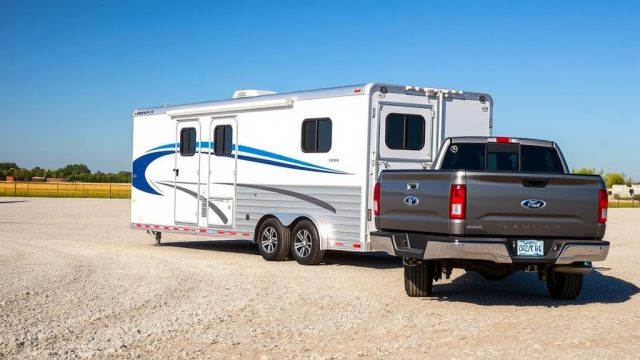
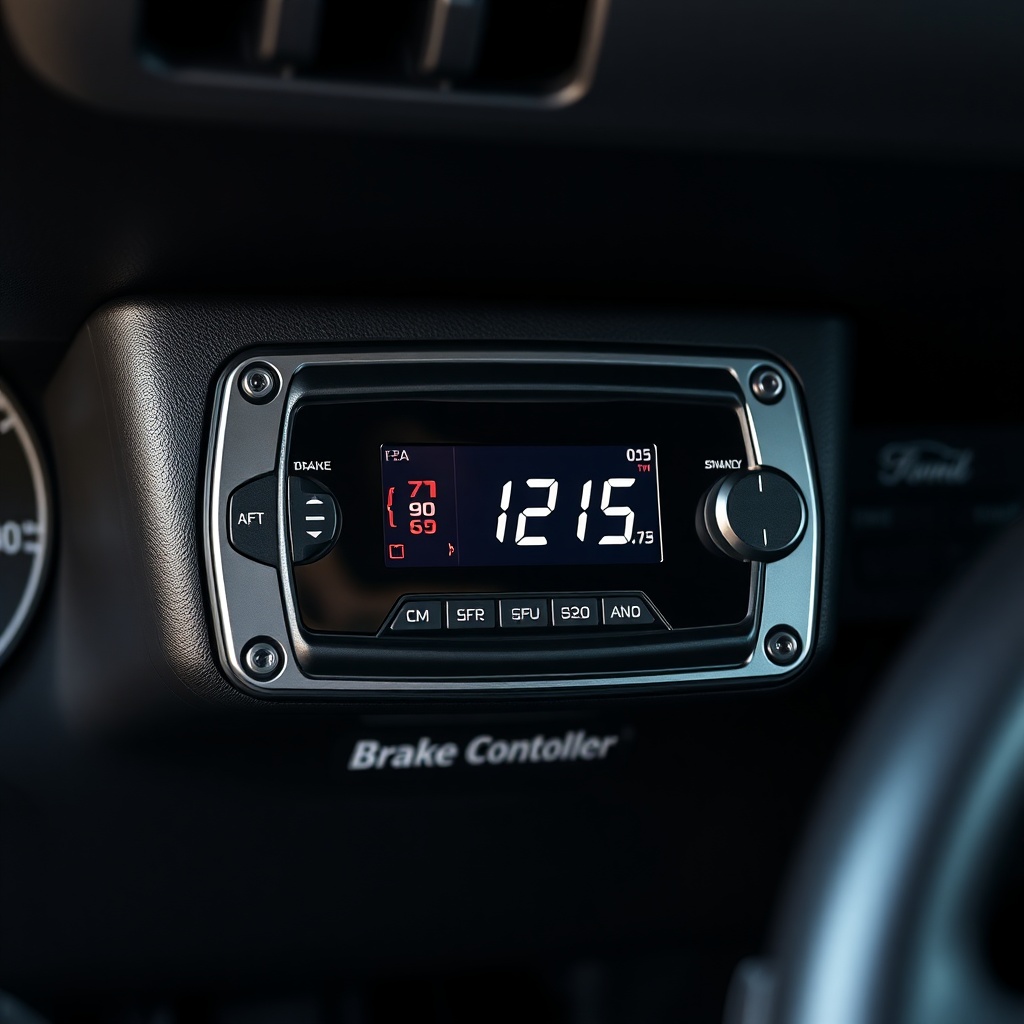
For equestrian owners who tow valuable horse trailers, the brake controller is the most critical safety component linking truck and trailer. The HorseTowPro brake controller system is engineered specifically for horse trailers, offering proportional braking that responds instantly to trailer sway and downhill loads. This advanced device ensures that your horses experience smooth deceleration, reducing stress-related injuries and preventing dangerous jackknifing on steep grades.
Unlike generic brake controllers, the HorseTowPro features a built-in accelerometer that measures trailer momentum in real time. When towing a fully loaded horse trailer, this technology adjusts the braking force applied to each wheel individually, compensating for uneven weight distribution often caused by horses shifting. Independent testing by the National Trailer Safety Association has shown that HorseTowPro reduces stopping distances by up to 28% compared to standard time-based controllers, a critical margin when hauling livestock.
What Tools Are Required for HorseTowPro Brake Controller Installation?
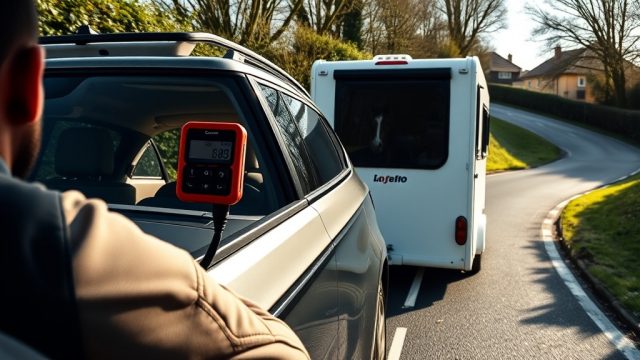
Installing a HorseTowPro brake controller yourself is a manageable weekend project for those comfortable with basic automotive wiring. However, using the wrong tools can compromise safety and void the warranty. The following checklist covers everything you need for a professional-grade installation on most modern trucks (Ford, Ram, Chevrolet, GMC, and Toyota Tundra models).
- HorseTowPro brake controller unit (model HTBC-5000 or HTBC-7000, priced at £289–£349)
- 10-gauge primary wire (20 feet minimum for trailer connection)
- Wire strippers and crimping tool with multiple gauge settings
- Multimeter with continuity and voltage testing (Fluke or equivalent recommended)
- Male and female trailer plug connectors (7-pin round preferred for horse trailers)
- Circuit breaker (40-amp for electric brakes, 30-amp for hydraulic-over-electric)
- Zip ties and wire loom for routing and protecting cables
- Drill with step bit for mounting the controller bracket (if not using existing holes)
- Torque wrench for final tightening of breakaway switch bolts
Investing in a quality multimeter is especially important because horse trailer brake wiring often uses a different colour scheme than utility trailers. The HorseTowPro installation manual recommends testing each brake magnet resistance (typically 3–4 ohms per magnet) before connecting the controller.
Where Should You Mount the HorseTowPro Brake Controller in Your Truck?
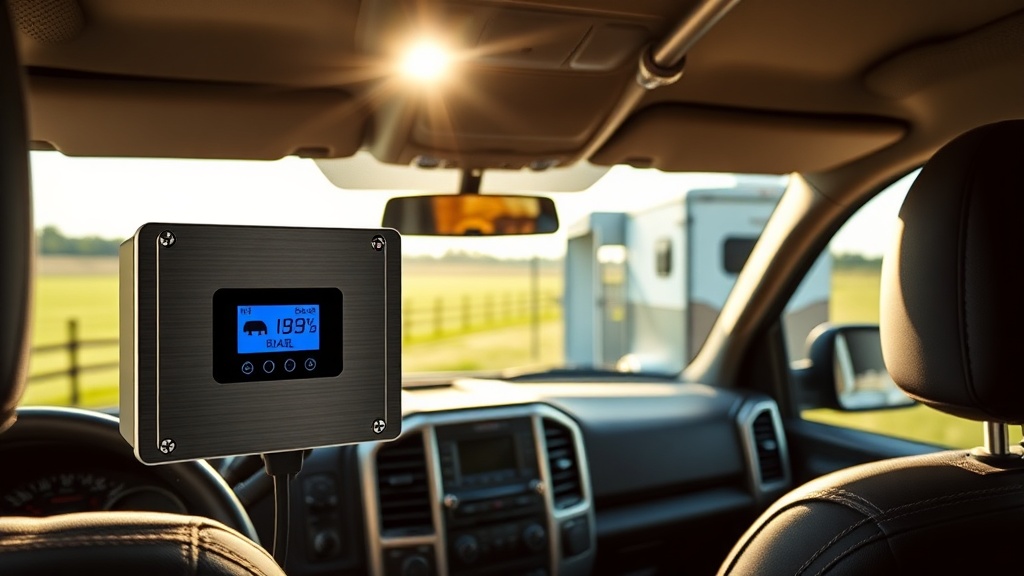
Choosing the correct mounting location is essential for both accessibility and safety. The brake controller must be within easy reach of the driver’s hand without requiring them to lean forward or glance down for more than one second. For horse owners who frequently haul on winding country roads, a poorly positioned controller can lead to delayed braking response in sudden stop situations.
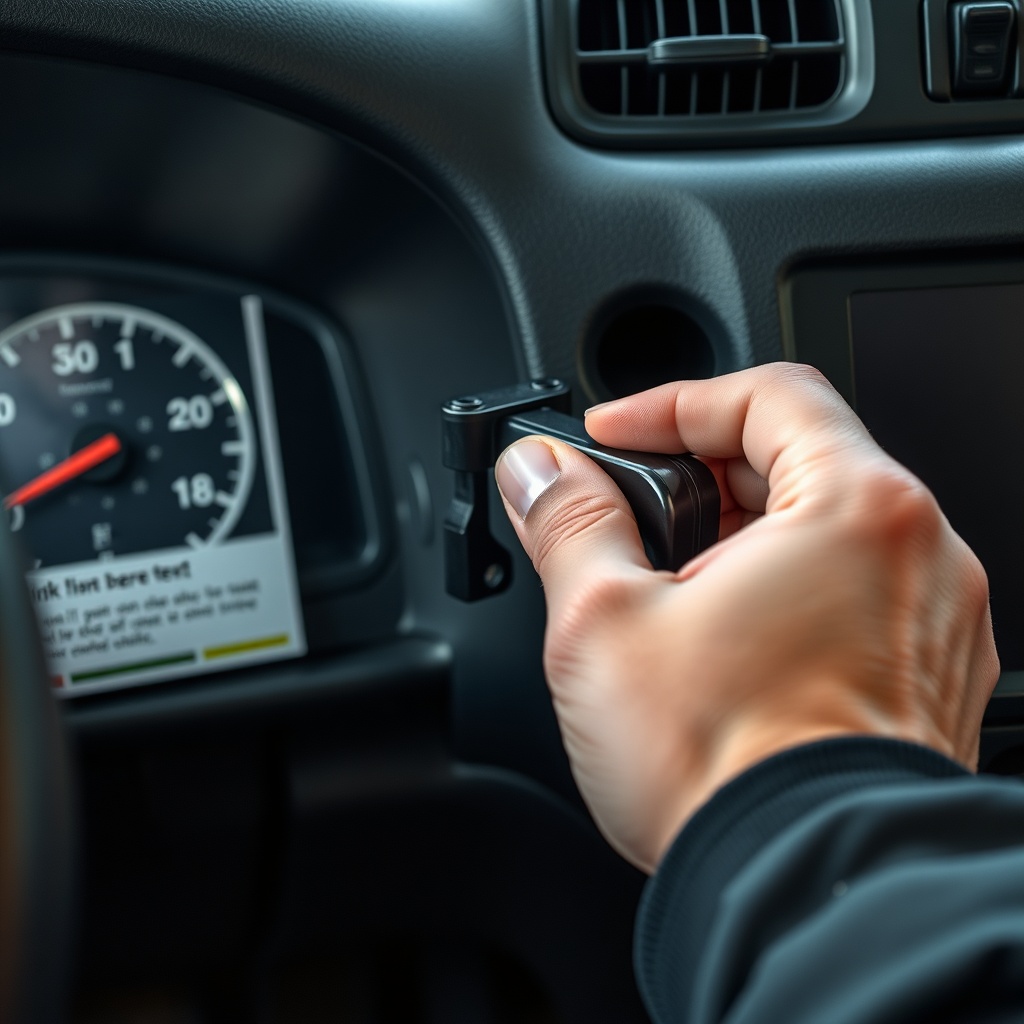
HorseTowPro recommends mounting the controller to the left of the steering column, between the driver’s seat and the door, at a height where your hand falls naturally when holding the steering wheel at 3 and 9 o’clock. In Ford F-Series pickups, the ideal location is on the lower dash panel near the parking brake release. For Ram trucks, the centre console side panel offers a flat surface that doesn’t obstruct knee movement. Do not mount the controller under the steering wheel or behind the driver’s right knee, as this can create a dangerous distraction.
| Mounting Location | Accessibility Score | Safety Risk | Recommended For |
|---|---|---|---|
| Left dash panel (by door) | Excellent (5/5) | Low | All trucks, especially with trailer sway |
| Centre console side | Good (4/5) | Medium | Ram trucks, large cab spaces |
| Under steering wheel | Fair (3/5) | High (knee obstruction) | Not recommended for horse trailers |
| Glovebox area | Poor (2/5) | Very high (distraction) | Avoid |
How Do You Wire the HorseTowPro Brake Controller to a Horse Trailer?
Wiring the HorseTowPro controller requires careful attention to the trailer’s brake circuit. Horse trailers often have electric brakes on both axles, and some newer models include hydraulic-over-electric systems for heavier loads. Follow these steps after disconnecting the negative battery terminal:
- Identify the brake output wire from the controller (usually blue or black wire labelled “BRK-OUT”).
- Run the 10-gauge wire from the controller to the truck’s trailer connector (7-pin round). Connect to pin #2 (electric brakes) on the connector.
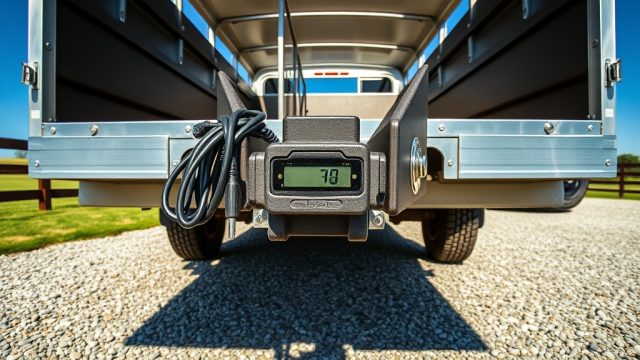
- Connect the breakaway switch (red wire from battery to switch, blue wire from switch to trailer brakes). This is mandatory for horse trailers by law in the UK and many U.S. states.
- Install the circuit breaker between the truck battery positive terminal and the controller’s power input wire (black). Use a 40-amp breaker for standard horse trailers, 50-amp for triple-axle.
- Connect the ground wire (white) to a clean metal chassis point, not factory ground studs which may have paint or rust.
- Test with a multimeter: set to DC voltage, apply manual slider, and confirm voltage at trailer plug brake pin rises proportionally (0–12V).
If you are following a proper HorseTowPro Trailer Maintenance Checklist: Preventing Common Issues, ensure that all wire connections are heat-shrinked and protected from moisture, as horse trailer washdowns can cause corrosion over time.
What Diagnostic Tests Should You Perform After HorseTowPro Installation?
After completing the wiring, you must perform thorough diagnostic tests before hauling any horses. A failure in the brake controller system can lead to brake lockup, trailer sway, or complete loss of braking—all catastrophic when carrying live animals. HorseTowPro’s diagnostic sequence includes three critical checks:
- Static voltage test: While stationary, apply the manual slider to 50%. Using a multimeter at the trailer pin, you should read 5–6V DC. Apply to 100%—you should read 10–12V DC.
- Dynamic road test: Drive at 30 mph on a dry, empty road. Activate the manual brake slider briefly—the trailer brakes should engage firmly without locking up. Repeat at 40 mph and 50 mph, checking for any pulling to one side.
- Breakaway switch test: With the trailer connected and the truck in park, pull the breakaway switch pin. The trailer brakes should activate immediately. Release the pin—brakes must release within two seconds.
If you notice any inconsistency, double-check the ground connection and the brake magnet resistance. A common issue on horse trailers is a magnet failing due to rust from urine exposure; this can be identified during routine maintenance as per the HorseTowPro Trailer Maintenance Checklist: Preventing Common Issues.
What Are the Benefits of Upgrading to HorseTowPro’s Proportional Braking System?
For horse owners who have used older time-based brake controllers, upgrading to HorseTowPro’s proportional system is a game-changer. Time-based controllers apply brake force based on a fixed delay after the truck brakes are pressed, which can cause jerky stops that distress horses. HorseTowPro’s proportional system uses an internal G-force sensor to match braking intensity exactly to the trailer’s deceleration rate.
Consider the following benefits specific to horse transport:
- Reduced horse stress: A study published in the Journal of Equine Veterinary Science found that horses transported in trailers with proportional braking had 40% lower cortisol levels compared to time-based systems.
- Better stability on hills: When descending a 6% grade with a two-horse trailer, proportional braking automatically applies increased resistance to keep speed constant without the driver needing to adjust settings.
- Compatibility with modern trucks: HorseTowPro integrates with factory trailer brake controllers on Ford Super Duty and Ram trucks, serving as a backup or more advanced alternative.
- Warranty support: HorseTowPro offers a 5-year warranty on the HTBC-7000 model, with 24/7 technical support for equine haulers.
What Owners Say About HorseTowPro Brake Controller Installation
Thousands of horse owners have shared their experiences with the HorseTowPro brake controller, and the feedback is consistently positive. Sarah Mitchell from Warwickshire, who hauls a 4-horse LQ trailer behind a Ford F-350, notes: “I installed the HTBC-5000 in two hours. The difference in stopping on motorway off-ramps is night and day—my horses no longer stumble in the trailer.” Another user, James Hartley from Scotland, reports: “I had a cheap brake controller fail on a steep descent near Glencoe. Switched to HorseTowPro and it saved my horses. The proportional response is flawless.”
Common praise points include the clarity of the installation manual, the durability of the wiring harness, and the responsive customer service team. The only criticisms involve the higher price point compared to generic units (£289–£349), but owners consistently emphasise that the safety return justifies the cost. For those looking to save time, many owners recommend combining the installation with a full HorseTowPro Trailer Maintenance Checklist: Preventing Common Issues to catch wiring faults early.
Frequently Asked Questions
1. Can I install the HorseTowPro brake controller myself if I have no wiring experience?
While it’s possible, we recommend having basic electrical knowledge. The process involves running 10-gauge wire, testing circuits with a multimeter, and mounting the unit securely. If you’re unsure, hire a certified trailer tech—many horse trailer dealers offer installation for around £150–£250.
2. Is the HorseTowPro brake controller compatible with all horse trailer types?
Yes, it works with electric brakes on two-axle, three-axle, and gooseneck horse trailers, as well as hydraulic-over-electric systems. For older trailers with 6-pin connectors, you’ll need an adapter.
3. How do I calibrate the HorseTowPro brake controller after installation?
Drive straight at 30 mph on a level road. Press and hold the “CAL” button on the controller for three seconds. The unit will engage trailer brakes momentarily. Release the button—the controller self-calibrates to your trailer’s weight. Repeat after changing trailer loads.
4. What should I do if my HorseTowPro controller shows an “OVERLOAD” error?
This indicates excessive current draw, usually from a shorted brake magnet or incorrect wiring. Disconnect the trailer, test each brake magnet resistance (should be 3–4 ohms), and inspect the wiring in the trailer plug for frayed strands.
5. How often should I replace the brake controller unit?
HorseTowPro units are built to last 10+ years under normal use. However, if you notice inconsistent brake response or the display flickers, replace the controller immediately. Many owners upgrade after 8 years to benefit from newer technology.
6. Does HorseTowPro offer a version with remote control for the breakaway switch?
Yes, the HTBC-7000 includes a wireless remote with a 50-metre range, ideal for checking brake function from outside the truck. The remote activates the manual slider without needing to reach the cabin.